Irrigation System Repair
About This Project
Outline for troubleshooting and repairing a residential irrigation system, including identifying common issues, performing necessary fixes, and testing the system.
Tools & Materials

Rain Bird ARC8 8-Zone App Based Residential Irrigation Controller ARC8
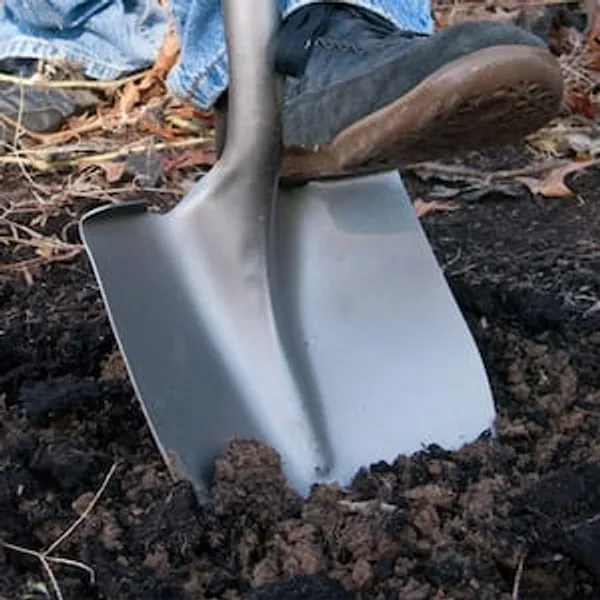
Shovel

Work Gloves

K-Rain Pro EX 2.0 Irrigation Controller 3202
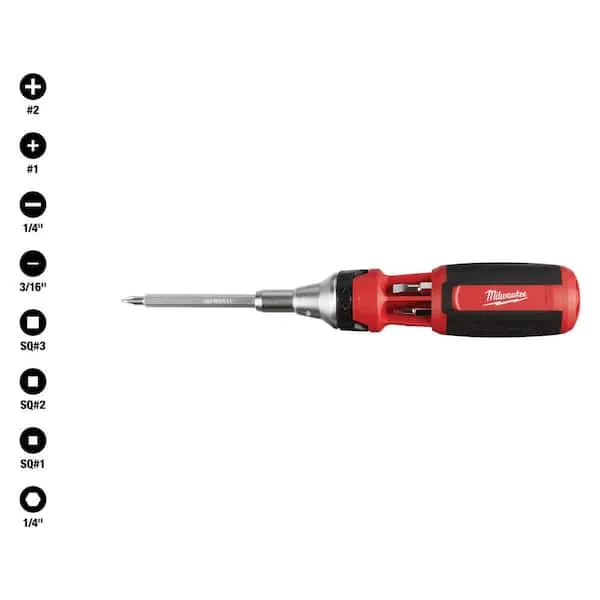
Screwdriver (Multi)

Libman Small Space Scrub Brush 15
Rain Bird ARC8 8-Zone App Based Residential Irrigation Controller ARC8
Put control of your sprinkler system in the palm of your hand with a smart irrigation WiFi controller from Rain Bird. The ARC8 Controller provides simple commands at the controller interface that are complemented by advanced features accessed through the Rain Bird mobile app. With the ability to accommodate up to eight stations plus master valve/pump start relay and rain/rain freeze sensor, this controller is suitable for both indoor and outdoor mounting. The controller provides flexible scheduling features to accommodate a wide variety of landscape applications that can be adjusted automatically all year long to ensure a healthy, beautiful landscape, saving you time and money. That's The Intelligent Use of Water
Shovel
Digs, lifts, and moves with ease.
Work Gloves
Protects hands during tasks.
K-Rain Pro EX 2.0 Irrigation Controller 3202
Screwdriver (Multi)
Multiple bits for versatile use.
Libman Small Space Scrub Brush 15
This scrub brush from Libman is excellent as an all-purpose scrub brush, but is particularly useful for small spaces and crevices. The extra-durable 3/4 in. long fibers and pointed head get into tight
Steps

Identify the Problem Area
30 minutesBegin by observing the entire irrigation system during operation. Look for visible water leaks around pipes and sprinkler heads. Note any sprinkler heads that are not popping up, are broken, or are spraying water in the wrong direction. Also, identify any areas of the lawn that are not receiving adequate water, indicating a potential clog or coverage issue. If you have an irrigation controller, check for error codes or warnings.
Watch: Identify and Address System Leaks
Check the Controller and Valves
20 minutesAccess your irrigation controller. Ensure it's powered on and programmed correctly for the current season. Check for any error messages. Manually activate each zone one by one. Listen for the distinct 'click' sound that indicates the valve for that zone is opening. If a valve doesn't open or make a sound, it may be faulty or not receiving power. If the controller shows an error, consult its manual for troubleshooting steps.
Watch: Inspect Sprinkler System Valves
Inspect and Clean Sprinkler Heads
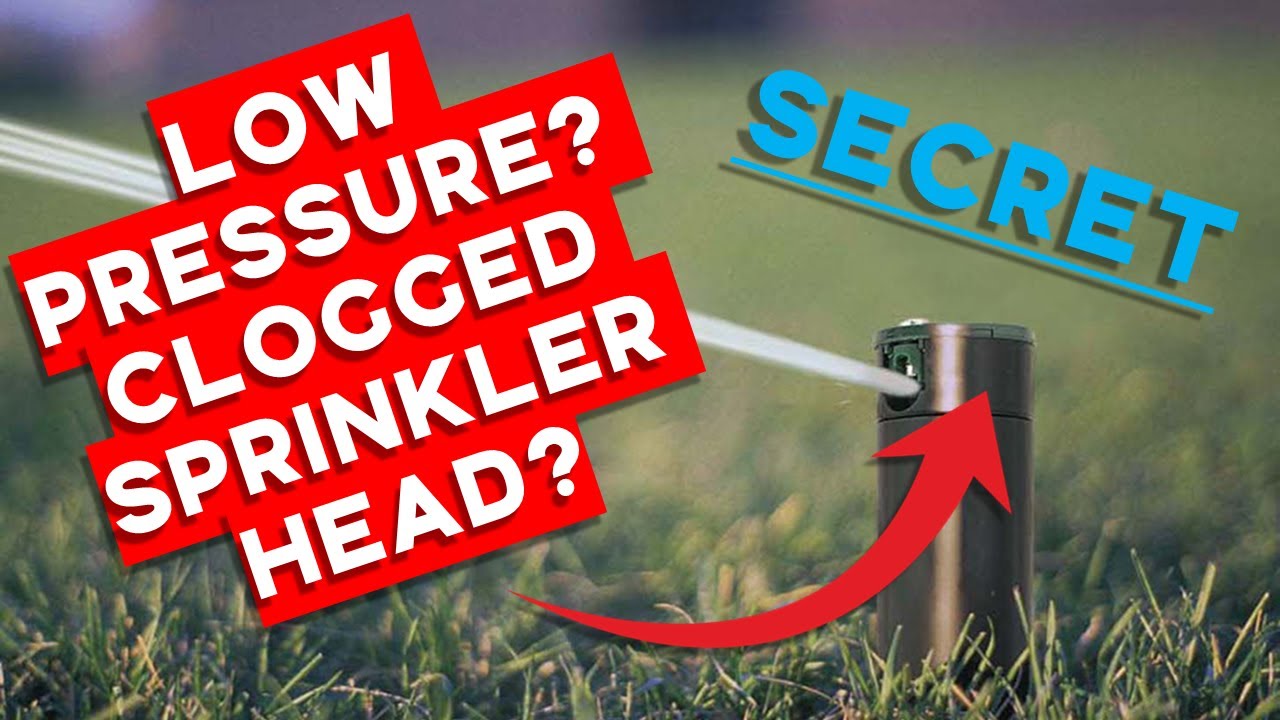
25 minutesWith the system off or a specific zone activated, carefully inspect each sprinkler head in the problematic area. If a head is stuck down, gently try to pull it up by hand. Check for any visible damage to the casing or nozzle. Remove any debris, such as grass clippings or dirt, that might be obstructing the head's movement or spray pattern. Clean the filter screen at the base of the sprinkler head if it appears clogged.
Watch: Assess Sprinkler Performance
Test Sprinkler Head Functionality
15 minutesActivate the zone associated with the sprinkler heads you inspected. Watch closely to ensure each head pops up fully and operates as expected. Check the spray pattern and coverage. Adjust nozzles if necessary to correct misdirected spray or improve coverage. If a head still fails to operate, it may need replacement.
Watch: Test and Adjust Sprinkler Zones
Locate and Inspect Valves
30 minutesUsing the zone information from the controller, locate the corresponding automatic valves, typically found in a valve box. Open the valve box and inspect the valves for any signs of leaks, cracks, or corrosion. Ensure the valve diaphragms are intact and that there are no obstructions. If a valve is leaking externally or not allowing water to pass to the zone, it likely needs repair or replacement.
Watch: Locate and Inspect Leaking Valve
Repair or Replace Faulty Valves
60 minutesIf a valve is leaking externally, attempt to tighten the bonnet nut. If the leak persists or if the valve is not opening/closing properly, shut off the water supply to the irrigation system. Carefully disconnect the pipes from the valve. Disassemble the valve, inspect the diaphragm for tears or debris, and clean or replace it if necessary. If the valve body is cracked or severely corroded, replace the entire valve assembly. Reconnect the pipes securely after repair or replacement.
Watch: Identify and Repair Leaking Sprinkler Control ValvesCheck for Underground Leaks
45 minutesIf the problem is not resolved by checking heads and valves, suspect an underground pipe leak. Turn on the system for a specific zone and walk the path of the buried pipes. Look for areas where water is pooling on the surface, especially in locations where there shouldn't be any standing water. Unusually lush or saturated patches of lawn can also indicate a leak. If a leak is suspected, you may need to carefully excavate the area to expose the pipe.
Watch: Identify and Expose Leaking Sprinkler Head
Repair Underground Pipe Leaks
90 minutesOnce a leak location is identified, carefully excavate around the pipe to expose the damaged section. Shut off the main water supply. Using a pipe cutter, remove the compromised portion of the pipe. Clean the ends of the remaining pipes. Fit a new section of pipe using appropriate couplings (e.g., PVC couplings with primer and cement for PVC pipes, or compression couplings for poly pipe). Ensure all connections are secure and watertight.
Watch: Repair Accidental Irrigation Pipe Damage
Flush the System
20 minutesAfter making any repairs to valves or pipes, it's crucial to flush the system. Turn on the main water supply. Manually activate each zone, one at a time, starting with the repaired zone. Let each zone run for a few minutes with the sprinkler heads removed or with the nozzles pointing away from their normal position (if easily accessible and safe to do so). This helps to flush out any dirt, debris, or sediment that may have entered the pipes or valves during the repair process.
Watch: Flush the Irrigation System
Test and Adjust Coverage
30 minutesOnce all repairs are made and the system has been flushed, run the irrigation system through a full watering cycle. Observe the water coverage across all zones. Check for any dry spots or over-watered areas. Adjust sprinkler head nozzles, rotation patterns, and spray distances as needed to achieve uniform coverage. Ensure that sprinklers are not spraying directly onto hard surfaces like driveways or sidewalks.
Watch: Test and Fine-Tune Sprinkler PerformanceCommon Problems
No water coming out of any sprinkler heads or the entire system fails to turn on.
Solution: 1. Check the Controller: Ensure your irrigation controller (Rain Bird ARC8 or K-Rain Pro EX 2.0) is plugged in, has power, and is set to 'Run' or 'Auto' mode. Verify the schedule is active. 2. Check Main Water Supply: Locate your home's main water shut-off valve or the dedicated irrigation system shut-off valve (often near the backflow preventer). Make sure it is fully open. 3. Check Master Valve (if applicable): If your system has a master valve controlling water to all zones, ensure it is functioning. Sometimes these can fail or get stuck.
Prevention: Before diagnosing further, always confirm basic power and water supply. Periodically check controller settings, especially after power outages.
Water leaks from newly installed threaded connections (e.g., sprinkler head to riser, valve connections) or PVC glued joints.
Solution: 1. For Threaded Leaks: Turn off the water supply. Unscrew the leaking component. Remove all old Teflon tape. Apply 3-5 wraps of new Teflon Tape clockwise around the male threads, ensuring it's snug. Re-tighten the connection firmly with an adjustable wrench or pliers, being careful not to overtighten and crack plastic parts. 2. For PVC Glued Leaks: If a PVC joint leaks, it must be cut out and redone. Turn off the water. Cut out the leaking joint and a few inches of pipe on either side. Clean and dry the new pipe ends and fitting. Apply Oatey Purple Primer generously to both surfaces until softened, then immediately apply a thick, even coat of PVC cement (Oatey Medium Blue or Regular Clear) to both. Join quickly with a quarter twist and hold firmly for at least 30 seconds. Allow to cure for at least 2 hours (or as per cement instructions) before turning water back on.
Prevention: Always use Teflon tape on all threaded connections. For PVC, ensure surfaces are clean and dry, apply primer generously, then cement to both surfaces, and join quickly with a quarter turn, holding firmly. Allow adequate curing time before repressurizing.
Only one irrigation zone fails to turn on or has very low pressure, while other zones work correctly.
Solution: 1. Check Controller Wiring: At the controller, ensure the wire for the non-working zone is securely connected to its terminal. Also, check the common wire connection, as a loose common can affect one or more zones. 2. Manually Activate the Valve: Locate the valve for the non-working zone (likely in a valve box like JONES STEPHENS M06001). Most valves have a manual lever or a solenoid that can be turned a quarter-turn counter-clockwise to open manually. If water flows when opened manually, the problem is likely electrical (solenoid or wiring). 3. Inspect Solenoid/Diaphragm: If manual activation works, turn off the water. Using a screwdriver, remove the solenoid (the cylindrical part with wires). Inspect it for damage; it may need replacement. If manual activation still fails, open the valve (after turning off main water) and inspect or replace the diaphragm (e.g., Toro Santoprene Diaphragm) for tears or debris.
Prevention: Ensure all wire connections at the controller and valve are secure and waterproofed. Avoid overtightening valve components during assembly.
Accidentally hitting underground utility lines (gas, electric, communication) or other pipes while digging to locate leaks or valves.
Solution: 1. STOP DIGGING IMMEDIATATELY. Safety is paramount. 2. If you hit a gas line (smell gas, hear hissing): Evacuate the area, call 911, then call your gas company. 3. If you hit an electric line: Do NOT touch the line or anything near it. Clear the area and call 911 and your electric company. 4. If you hit a water line (not irrigation): Turn off your home's main water supply. Contact a plumber for professional repair. 5. If you hit an irrigation pipe: Turn off the water to your irrigation system. You will need to repair the damaged section of pipe using PVC repair methods (cutting out the damaged part and cementing in a new section with couplings).
Prevention: ALWAYS call 811 (or your local 'Call Before You Dig' number) at least a few business days before you plan to dig, even for shallow repairs. They will mark underground utility lines. Dig carefully by hand when near marked areas.
Sprinkler heads don't pop up fully or spray water unevenly (misting, shooting too far/short, or missing spots).
Solution: 1. Clean Sprinkler Heads: Turn off water to the affected zone. Unscrew the top of the sprinkler head or the nozzle itself. Remove any debris like grass, dirt, or sediment from the filter screen at the base of the nozzle and inside the sprinkler body using a Libman Small Space Scrub Brush or Husky Hook and Pick Set. 2. Replace Nozzle: If cleaning doesn't resolve the issue or the nozzle appears damaged, replace it. Ensure you use the correct nozzle type for the specific sprinkler head and coverage area (e.g., the Rain Bird 1800 Series). 3. Check for Low Pressure: If multiple heads are affected, ensure all other water-using appliances in the house are off. If pressure remains low, investigate for larger system leaks. 4. Adjust Coverage: For uneven spray, use a small flathead screwdriver (or the tool provided with the nozzle) to adjust the nozzle's arc and radius according to manufacturer instructions.
Prevention: Periodically inspect and clean sprinkler heads, especially after lawn maintenance. Ensure proper filtration at the system's main line. Use appropriate nozzle types and maintain correct head spacing for optimal coverage.
PVC pipe cement joints fail and leak after being allowed to cure, indicating improper bonding.
Solution: 1. Turn off the water supply immediately to prevent further damage. 2. A leaking PVC glue joint cannot be patched; it must be completely redone. Cut out the faulty joint and a few inches of pipe on either side. 3. Ensure all new pipe ends and the inside of the new coupling are completely dry and clean. This is crucial for proper bonding. 4. Apply Oatey Purple Primer generously to both the pipe ends and the inside of the coupling until the plastic is softened. Do not skimp on primer. 5. Immediately apply a thick, even layer of Oatey PVC cement (such as the Medium Blue or Regular Clear PVC Cement) to both surfaces. 6. Push the pipe and fitting together with a quarter turn until it is fully seated, holding firmly for at least 30 seconds to prevent the pipe from pushing out. 7. Allow ample cure time: For repairs, especially underground or under pressure, allow for longer cure times (e.g., 2-4 hours for Schedule 40 pipe, or as per cement manufacturer instructions) before turning the water pressure back on.
Prevention: Always ensure surfaces are dry and clean. Apply primer generously to both pipe and fitting, then apply a liberal, even coat of cement to both. Join components quickly, fully, and hold firmly. Always follow manufacturer's cure time recommendations on the PVC cement can, which can vary with temperature and humidity.
Frequently Asked Questions
What specialized tools are essential for irrigation system repair beyond general household tools?
You'll definitely need a good shovel for digging, especially around pipes without damaging them. A hook and pick set is invaluable for cleaning stubborn sprinkler nozzles, and an adjustable wrench will help with various fittings. Don't forget PVC primer and cement for pipe repairs, and Teflon tape for threaded connections.
My sprinkler zone isn't turning on at all. Where should I start troubleshooting?
First, verify the zone is programmed correctly on your controller and that the master valve (if you have one) is open. Then, locate the valve for the non-working zone. Manually turn the solenoid a quarter turn counter-clockwise or flip its lever to see if the sprinklers activate, which helps isolate if the issue is electrical or mechanical within the valve itself.
How can I pinpoint an underground leak without excavating my entire lawn?
Look for unusually wet or overly green spots in your yard, or areas where the grass is unusually lush. You can also listen for hissing sounds near the main line or check your water meter for continuous movement even when all water sources are off, indicating a constant flow.
What are the most important safety precautions to take when digging for underground irrigation repairs?
Always call 811 (or your local 'dig safe' number) a few days before you dig to have underground utility lines marked. Wear sturdy gloves to protect your hands from debris and tools. Dig carefully and by hand when you get close to pipes or marked lines to avoid damaging them or other utilities.
How difficult is irrigation system repair for a beginner, and what's a realistic time commitment for common issues?
Many irrigation repairs, like cleaning sprinkler heads or replacing a diaphragm, are quite beginner-friendly. Diagnosing and repairing underground leaks can be more involved, requiring patience. While basic troubleshooting might take an hour, identifying and fixing a significant pipe leak or valve issue can easily extend to 2-4 hours, especially if you're new to it.
What's the typical cost for common irrigation repair parts, and when should I consider hiring a professional?
Most common repair parts like sprinkler heads, nozzles, and valve diaphragms are relatively inexpensive, often ranging from $5-$20 each. You might consider a professional if you're dealing with persistent low pressure across multiple zones, complex electrical issues you can't diagnose, or if you've spent significant time searching for a leak without success.